【Claude_Code_CLI安装】代理配置-本地模型-插件生态
1 前言
最近在使用Claude Code (简称 cc )帮助我进行日常学习、项目开发,本文记录下 Claude Code CLI 的安装、DeepSeek 模型配置、llama.cpp 本地模型内网穿透后进行公网连接的操作,最后简单提及下 skill、plugin 等功能的安装,后续也会更新下 cc 的一些进阶操作。
2 安装
1 | # 国内用户(winget 源) |
安装完成后,在终端输入 claude 即可启动。
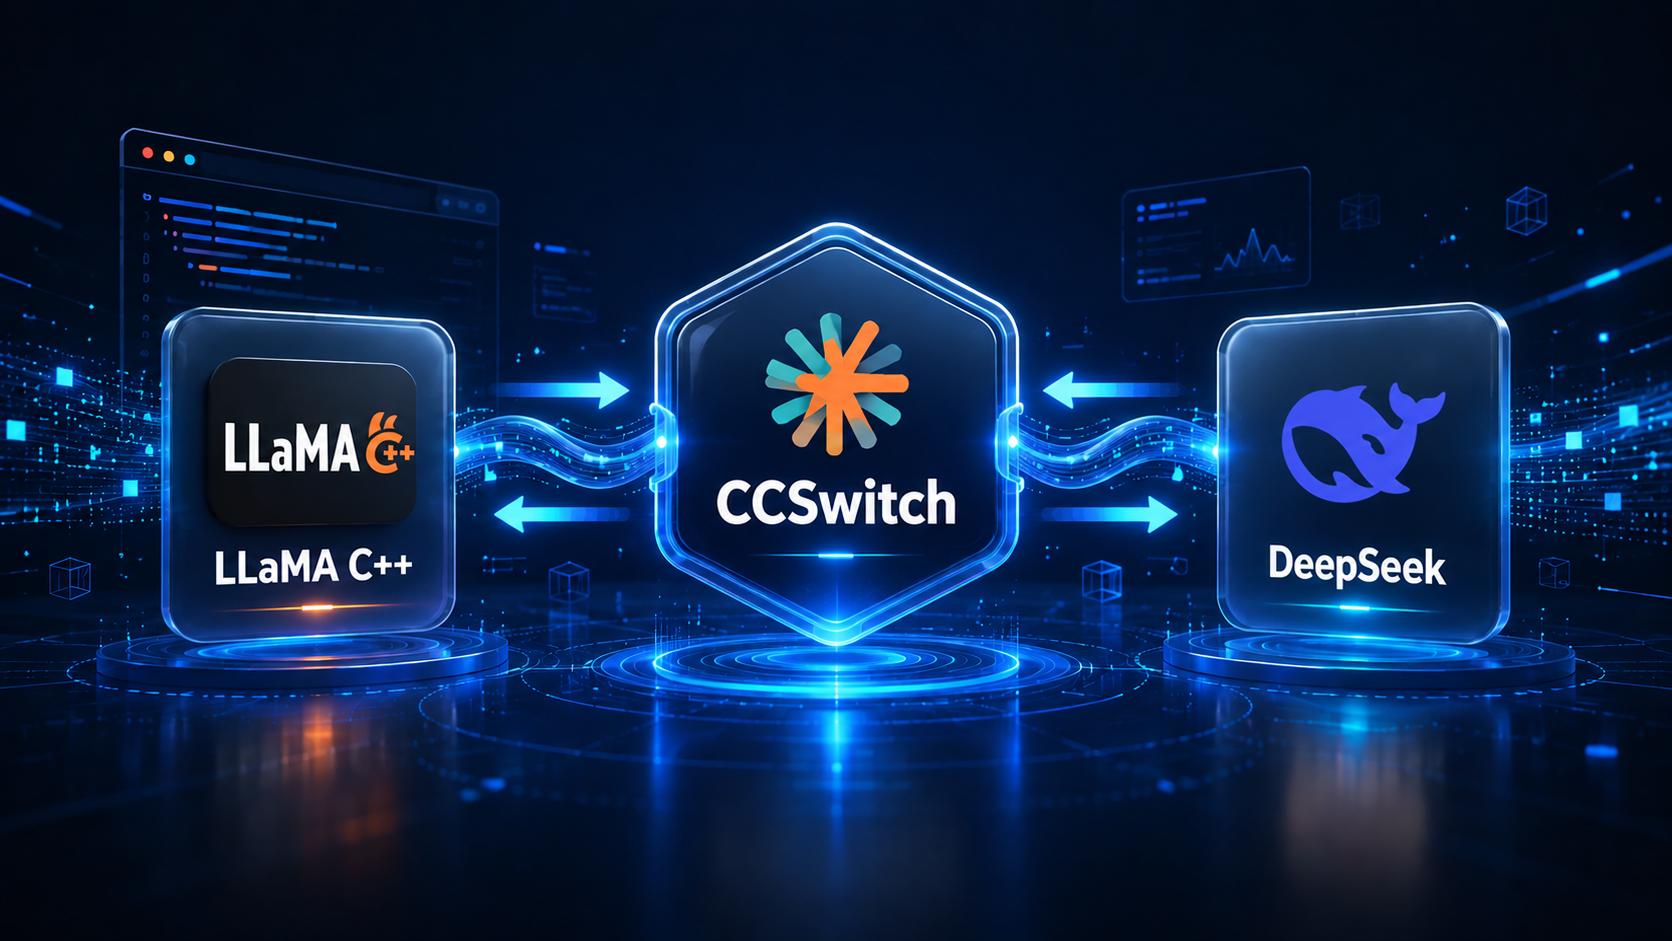
3 cc switch 多模型配置切换
下载:CC Switch